Manage and organize bookable resources such as rooms, equipment, and personnel to streamline scheduling and maximize utilization.
In Sonderplan, Resources are the individual assets, spaces, people, and actions that you can book or track. Every booking refers to one or more Resources, and grouping them logically helps keep your calendars organized and ensures the right items are available to the right teams.You can manage Resources by navigating to Admin → Resources in the sidebar, where you’ll find a list of all existing items and controls to create, edit, or delete them.
Living and breathing, these “human resources” drive your projects and studio operations. Each person must be created as Contact before being created as a Resource. Once added, you can assign them to Workspaces, set rates, or track their availability just like any other asset.
These are non-physical entries used to represent common staff activities or statuses in your schedule:
Sick Leave
Holidays
Training Sessions
Administrative Tasks
Action Resources appear in the Schedule just like any other Resource, allowing you to block off time or record internal activities without tying up physical rooms or equipment.
If you are using Sonderplan on a Flexible Billing plan, creating resources will result in additional charges (calculated pro rata) being automatically charged to your credit card.
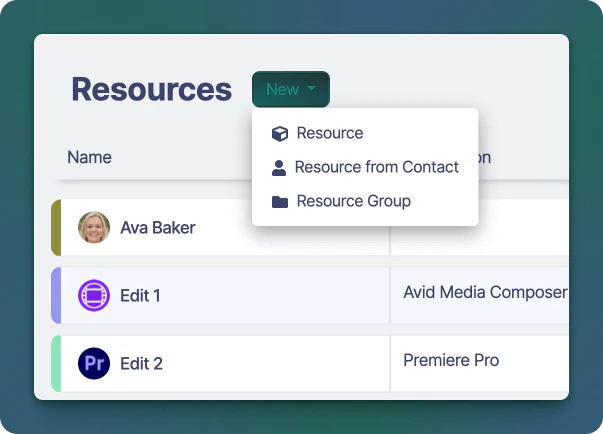
Click the New dropdown menu button and click Resource if you wish to create a Room, Equipment or Action resource.If you wish to create a Person resource, click Resource from Contact.Or click Resource Group if you want to create a new group to organise similar resources together.
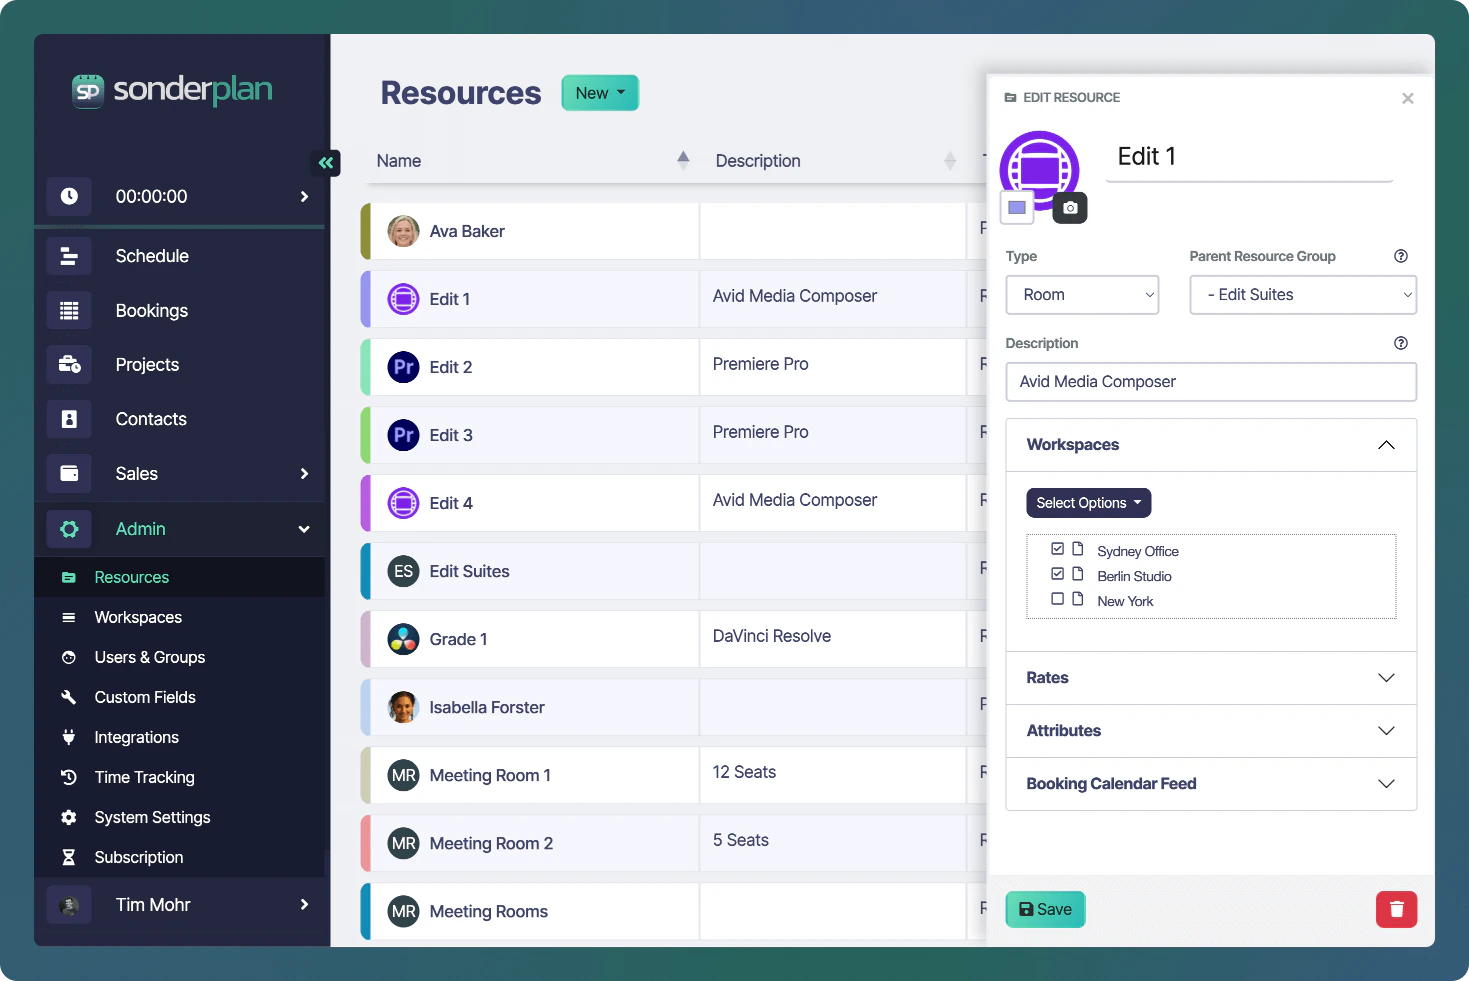
In the Resources list, click the name of the resource name (or edit icon) for the Resource you wish to change.Make any changes to the resource, when finished, click Save to apply your changes.
If you’re using Sonderplan with a Flexible Billing plan, deleting resources will generate unused time credits for the user. These credits will be automatically applied to your account and used toward future invoices.
Open the Resource’s edit panel as above.At the bottom-left of the panel, click the button. Confirm the deletion in the prompt.The Resource will be removed from the list immediately. The deleted resource will be kept on bookings, but marked as (deleted).