Extend Sonderplan’s data model to capture the unique information your team needs with flexible, user-defined custom fields.
Custom Fields let you tailor Sonderplan to your team’s exact needs by adding your own data fields across modules—whether it’s recording project-specific notes, adding equipment serial numbers, or tracking custom statuses. In this section, you’ll learn how to create, configure and manage custom fields, choose the right field types for your data, and control where and when they appear in your workflows.
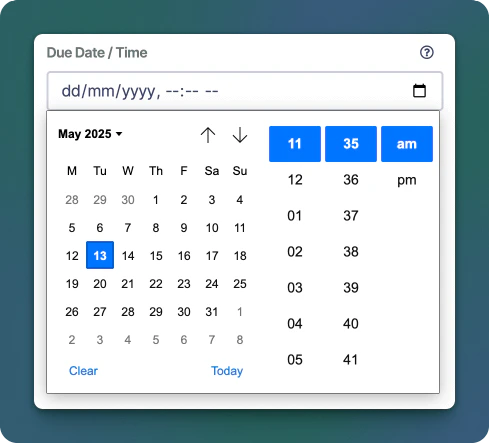
When you need both date and time (e.g., timestamped events), appears as a date / time picker in modern browsers.Each field type can be set to be required, meaning it must be filled in with a value before the associated module (eg booking, project) can be saved.
Custom fields are added to specific Sonderplan modules, allowing them to be extended to capture the data specific to your business. Below is a table of the modules that allow custom fields:
Module Name
Notes
Booking
Project
People
Contacts Module
Organizations
Contacts Module
Quotes
Invoices
Quotes & Invoices
Fields and their values appear on both quotes and invoices. Quotes that are converted to invoices also retain these values as they are migrated.
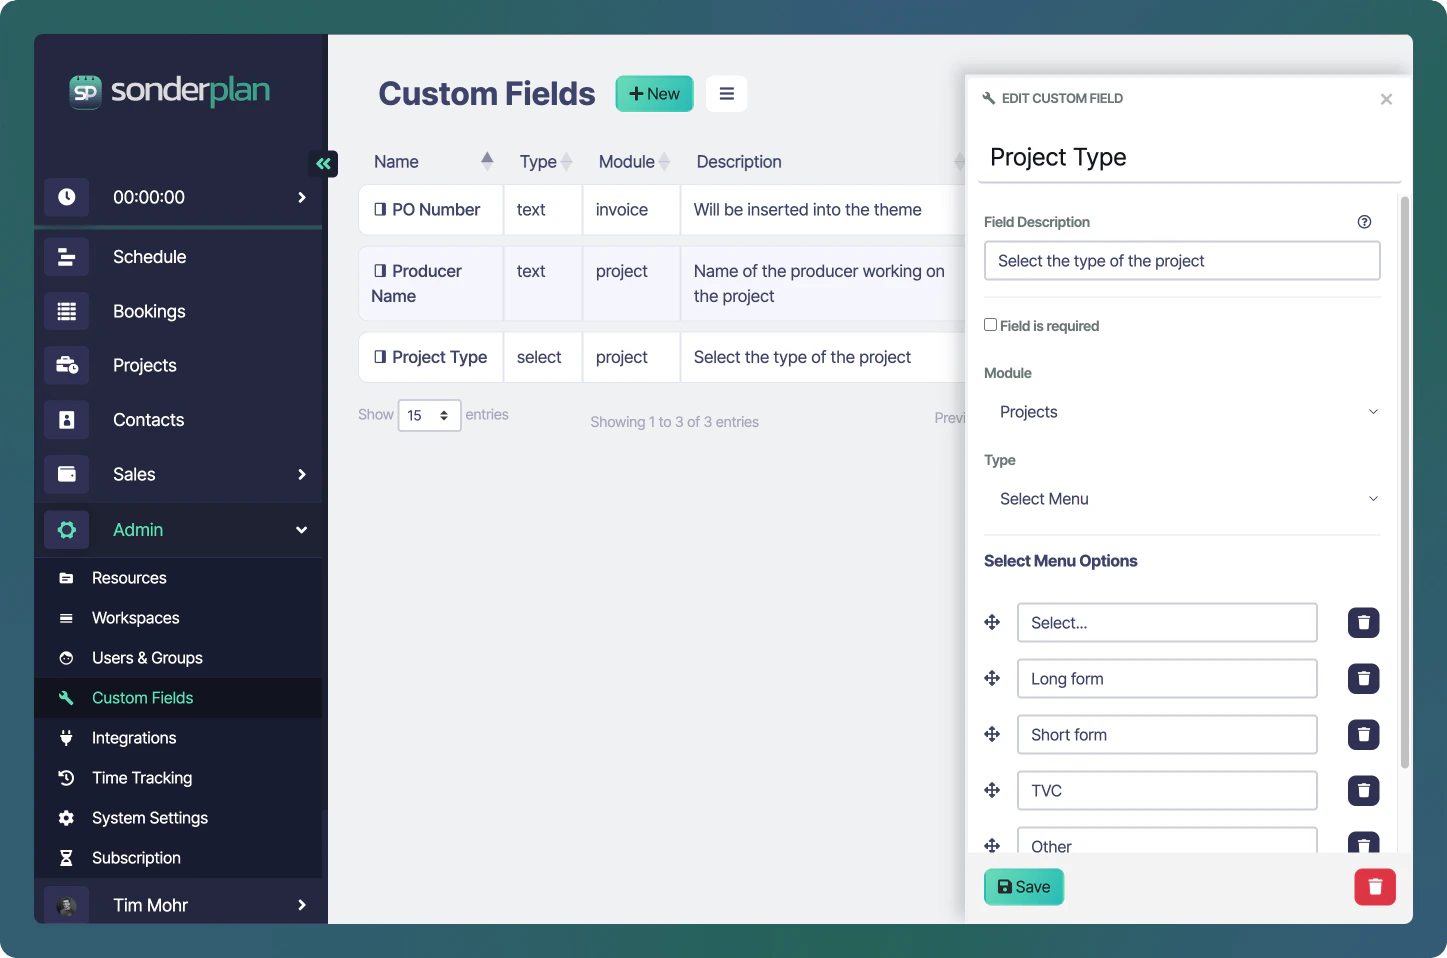
From the Admin -> Custom Fields page, click the + New button in the header to create a new custom field. If you want to edit an existing field, click on the name of the field in the Custom Fields table.In the New Custom Field sidebar editor that appears:
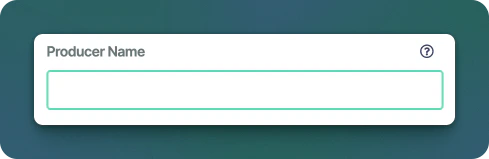
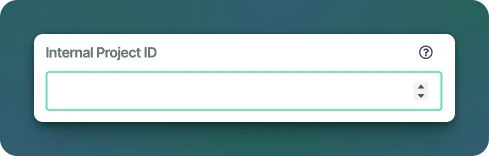
Name (required): Give the Custom Field a clear, title (e.g. “Booking Type”). This title will be shown in the form
Description (optional): This text will be shown in the help bubble next to the field
Field is required - When this checked, this field must be filled before the form will allow saving.
Module - Select the module that this custom field will be attached to (see Field Modules table above)
Type - Select the type of this custom field (see Field Types section above)
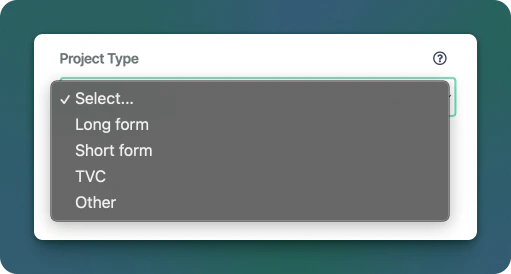
When selecting Select Menu as the type, an additional Select Menu Options section is shown. This section allows you to add, edit and delete the menu options as well as adjust their order.
Open the Custom Fields’s edit panel as above.At the bottom-left of the panel, click the button. Confirm the deletion in the prompt.The custom field will be removed from the list immediately.
Any custom field data associated with this field will also be deleted