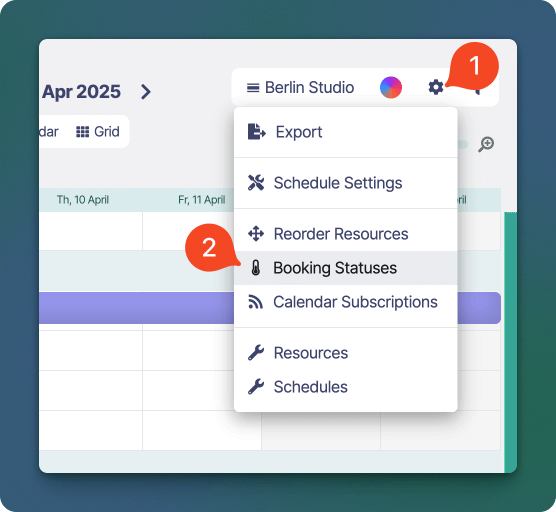
Create / Edit a Booking Status
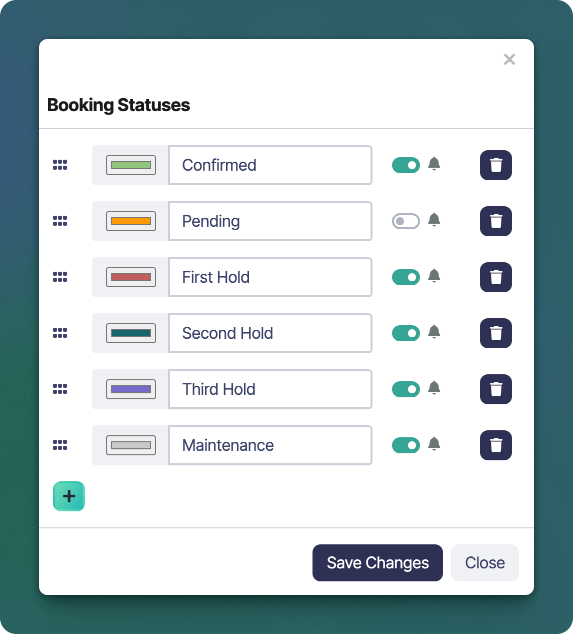
- Use the button at the bottom to create a new Booking Status.
- Enter the name of the Booking Status in the input text field. Common examples include “Pending”, “Confirmed”, “First Hold”, “Second Hold” and “Maintenance”.
- Click the colour picker to assign a colour to the booking status. Bookings will use this colour when they have been assigned this status.
- The notification toggle switch lets you control whether a status will trigger email notifications when bookings are created or updated. This is useful for suppressing notifications on tentative or internal bookings (e.g., “Pending” or “Hold”).
- Use the drag handles on the left to reorder statuses. This order will be reflected in the booking editor status menus.
- Click Save Changes to apply your updates
- Repeat these steps for to create as many statuses as you require.
Delete a Booking Status
- To delete a booking status click the button next to the custom status you wish to delete.
- A delete confirmation popup is shown, click Delete to confirm the deletion.